Hello my dear readers,
today is my first day of the winter semester on my Master Degree study which means two things.
Firstly after almost four months of total freedom I will have to visit school from time to time and secondly there is possibility (especially during the exam period) that I won´t have so much time to do all the usual online stuff.
Yesterday I created a fan page on facebook. It would be really awesome if you follow me there. I also created rss via feed burner so you can easily follow my blog by clicking on the rss icon on the right.
I´m quite busy during these days - I have to finish editing photos for my fashion calendar (I wrote about it more in the article "Photoshoot for Calendar: How to Deal With Inexperienced Models"). If you want to see more of the finished photos you can look on my tumblr.
I also rewrite a tutorial for PhotoshopTutorials site and prepare for Pulp Fiction inspired photoshoot with model which looks like Uma Thurman a lot.
 |
| Photo for fashion calendar |
3 Inspiring Blogs
During this week I´ve visited a lot of photography blogs and found three that really caught my attention. I´d like to mention them here because each of them has learnt me something about photography or life. It´s blogs of these people:
1. Lindsay Adler Blog
Except the fact that she is very talented fashion and portrait photographer and author of many useful blog posts she wrote the book "The Linked Photographers' Guide to Online Marketing and Social Media" which is full of tips about social media such as twitter, facebook or tumblr.
Thing I´ve learnt from Lindsay:
If you want something you need to ask people. The worst thing that can happen to you is that they say no.
2. Jasmine Star
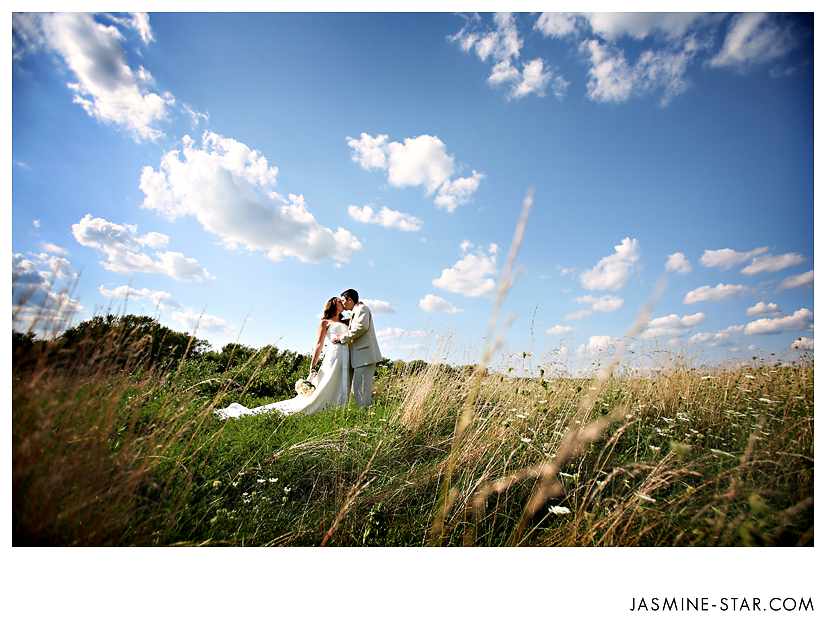
Jasmine Star is a famous wedding photographer from California. But four years ago she was a law student. The thing which fascinates me about her the most is that she had enough courage to quit the school and pursue her dream.
Besides the blog I´ve linked above she also has older blog where it´s described her first steps into the industry. E.g. she wrote how scared she was to ask her first clients for photoshoot.
Thing I´ve learnt from Jasmine (what her husband said to her when she was deciding about starting photography business):
I´d rather see you fail in something you love that succeed in something you hate.
3. Melissa Rodwell
She is a fashion phootgrapher who shoot for magazines such as Harper´s Bazaar and has blog full of amazing tips about fashion photography and a lot of interesting behing the scenes videos.
One thing that caught my attention is that when she takes photos outside she doesn´t use any artificial light but only reflector (Do you remember my article "DIY: Silver Photo Reflector For Only $6 "?) and she´s able to do as amazing photos as the one above (yes, she used only reflector, no strobes).
Thing I´ve learnt from Melissa:
You can take amazing photos and don´t need to spend a fortune on it.
2 Different Uses of Reflector
On Wednesday I finally had the opportunity to try my home made reflector. It was during the really spontaneous photoshoot. I came back home from lunch, open door of the closet and the idea just appear in my head - portrait with weird silver glasses. |
| Visitor - result from the photoshoot |
So here are the possible uses for the silver part of the reflector. You can use it as:
- well, silver reflector,
- cool, weird glasses.
As the main light source I used light from the window on the right. And I hold the reflector on the left to reflect some light back to my face. You can see it at the diagram bellow. (You can download .psd file for your own diagrams from here.)
 |
| Light Diagram |
Let me show you how the photos look with and without the reflector.
The post processing was easy too. I soften the skin with High Pass filter, change colors with Selective Color and add some grunge texture to give it a feel like there is dirty window in front. You can read about the post processing methods I usually use when I´m editing photos in the article I´ve written recently - "3 Favorite Tools in Photoshop.
Below there is one more photo from the photoshoot.
 |
| Visitor II |
So ... you want to know the secret, righ? Well, here it is:
I´ve realized that in many cases I´m better "post processor" than a photographer.
Let me explain it. When I´m editing photos I almost often know what to do and that I get good result. But when I take photos I´m not so sure.
To this idea leads my photoshoot for the calendar. I have to take a lot of photos in a hurry so there wasn´t enough time to find interesting location or wait for the right light condition. So now I have to create these things in Photoshop.
Let me show you one example which speaks for everything. Rollover to see the difference.
I really hope that this article was useful for you. It would be great if you let me know what you think in comments.
Have a nice time
- Jarka


