

Under each photo you´ll find description of the editing. Hope that it will be usefull for you. And I will answer all further questions about the post processing in the comments!
This week I´ve finally finished editing photos for a fashion calendar I was working on. I´ve spent a lot of hours on it and have done a lot of post processing but I knew that it will be necessary since the day of shooting because we had very limited time and shoot in a very small location. You can read more about the photoshoot in the article "Photoshoot for Calendar: How to Deal With Inexperienced Models".
Let´s take a look at the rollovers. If you want to see how the photo looked before editing move the mouse above it. It takes a little time before the images load so please be patient.

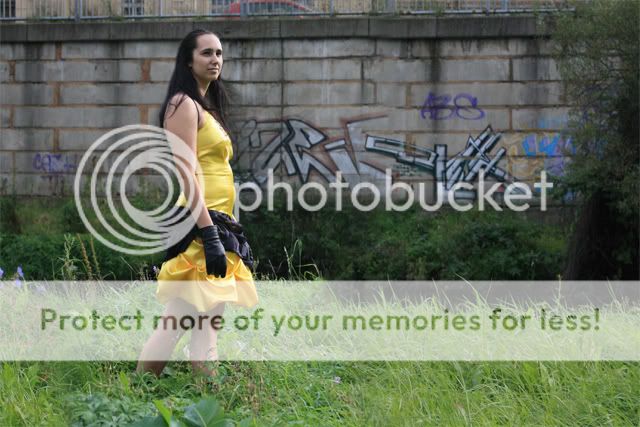
In this photo I did following editing:
- retouched the background - remove other people except the model and mess on the sidewalk,
- made the model slimmer with Liquifity filter,
- increased contrast with Gradient Map,
- added redder tones with two Selective Color adjustments,
- soften and sharpen it with High Pass filter,
- added vignette,
- added warmer tones with Gradient Map,
- added diffuse light with the Brush Tool.

I shoot all the photos on 18-55mm, f3.6 - 5,6 lens but I really wanted the DOF made by f1.8 lens. I owe this lens but I decided to not to use it because I was afraid that some of the photos will be out of focus. And because of that I had to change DOF in Photoshop.
The adjustments are following:
- increased contrast with Black, White Gradient Map set on Luminosity,
- orange Photo Filter for warmer tones,
- Selective Color for more violett colors,
- makeup painted on layer with Overlay Blending Mode,
- changed lights and shadows on hair,
- blurred background with Alien Bokeh plugin,
- changed colors with default Violet, Green, Orange Gradient Map set on Soft Light,
- added diffused light with the Brush Tool,
- vignette.
 I really enjoyed doing this photo because I played a lot with lights on the scene and it was real fun. I´ll definitelly repeat this process on some photo in the future. I did these adjustments:
 - added trees to the right upper corner,
- changed facial features with Liquifity filter,
- increased contrast and lighten image with Gradient Map,
- sharpen and soften with High Pass filter,
- blurred background with Alien Boke plugin,
- added bluer tones with Selective Color,
- added lens flare to the upper left corner,
- added white stripes in the background,
- added vignette,
- created reflection on women´s glasses.

I started with editing completely different photo but still couldn´t achieved good result. So I moved on another photo of this dress and then editing didn´t take more than two hours. I did following:
- sharpen and soften with High Pass filter,
- increased contrast with Black, White Gradient Map set on Luminosity Blending Mode,
- blurred background with Alien Bokeh plugin,
- added blurred grass in the foreground to create better impression of space,
- added bluer tones with Selective Color,
- added bubbles and vignette,
- lighten hair roots.
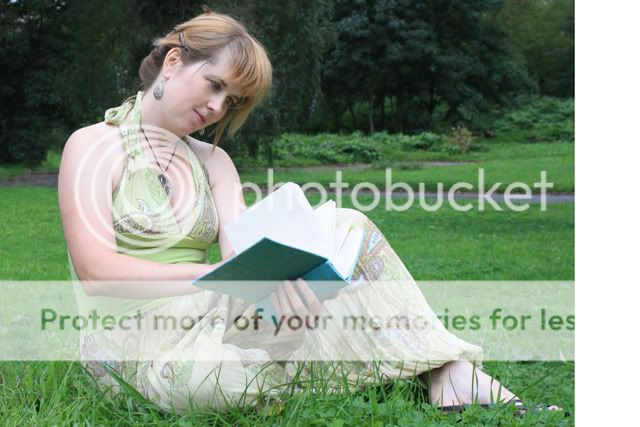
Another photo I spent a lot of hours on editing but I must say that it´s one of my favorite from the whole set. As you might see on the before and after pictures I played quite a lot with Liquifity filter. Except from that I did following:
- added right part of the background to get better composition,
- made the picture darker with Levels,
- adjusted highlights and shadows separately thanks to Luminosity selection with Curves,
- added blurred background again,
- made yellower tones with Selective Color,
- made hair oranger - painted with orange over hair on the layer set on Overlay,
- darken lists of the book because they were overexposed,
- changed lighting of the face and added makeup,
- darken background with Levels,
- added butterfly,
- added vignette.

Another photo I really enjoyed to edit. I used a technique for creating decent foggy effect in the background I had used almost year ago in one of my landscape photos. It was nice to go back to this technique. Following adjustments were done on this photo:
- cleaned background with Content Aware and Stamp Tool,
- Liquifity filter,
- added more light on women´s face,
- increased contrast with Black, White Gradient and added vignette,
- redder leaves of the background trees with Selective Color,
- added falling leaves to add dynamic to the picture,
- added the orange haze to create more mystical atmosphere,
- changed light and shadows of the scene with the Dodge and Burn Tool,
- added orange tones with Photo Filter.
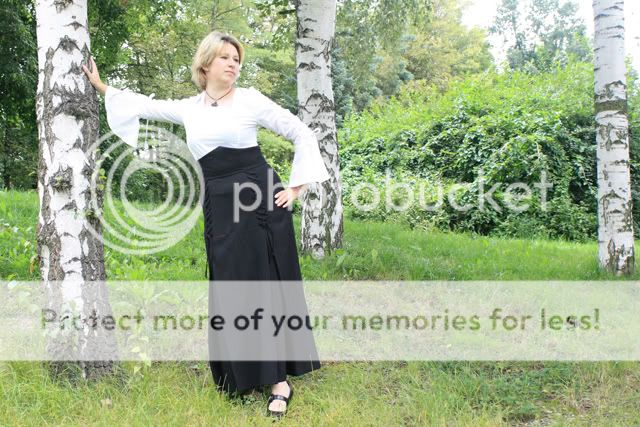
I spent really a lot of hours on this photo. I still wasn´t satisfied with the composition and the photo looked empty and uninteresting. I was thinking about what to add for almost four days till I came up with decent rainbow. I did following adjustments:
- made woman thiner with Liquifity filter,
- increased contrast,
- remove one of the birches,
- added blue flowers,
- added sun rays and lens flare to the right,
- add yellow tones with Gradient Map,
- changed lights and shadows,
- lighten the hair roots,
- added rainbow.

This is probably my favorite photo from the photoshoot. I like the colors and fragile mood and it was also quite quick to edit. I did following:
- made her thiner with Liquifity filter,
- blurred background with Alien Bokeh plugin,
- added Violet, Yellow Gradient Map set on Screen,
- added Lens Flare,
- lighten it with Gradient Map,
- darken ivy,
- add yellow tones with Color Balance,
- lighten hair roots.
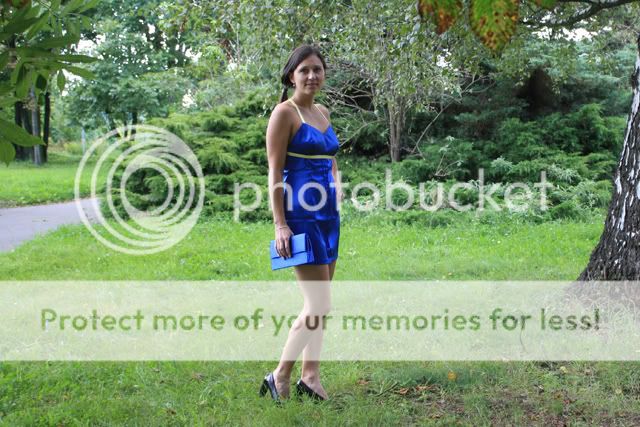
Editing of this one was quite quick. It´s little different from the rest photos but I wanted to give it more urban feel because according to me it fits better to the dress. I did these adjustments:
- retouched the background,
- made her slimer with Liquifity filter,
- added blue and violet tones with Selective Color,
- added vignette and lens flare,
- added more blue tones with Blue, White Gradient Map set on Soft Light,
- added more lights on her face,
- added violet vignette,
- sharpen with High Pass filter,
- lighten with Levels,
- added warmer tones with Photo Filter.

This was definitelly the hardest photo for editing. It took me more than ten hours to get the result I´m satisfied with. I tried three different photos before I stayed on this one. Post processing was following:
- darken the picture with Levels,
- added tulips,
- desaturated with Hue/Saturation,
- made red redder with Selective Color,
- changed the light scene simply with the Brush Tool,
- darken with Levels again,
- add warmer tones with Color Balance,
- blurred background,
- added Lens Flare,
- added vignette and bokeh texture,
- sharpen with High Pass filter.

This photo is the opposite of the previous one because it was the easiest to edit from the set. I:
- changed contrast with Levels and Gradient Map,
- added warmer tones with Photo Filter,
- added vignette and lens flare,
- lighten it with Gradient Map,
- added light to her face.
This one was also real fun to edit. I exactly know what look I want to get so it was really easy. I did following:
- cleaned background with the Stamp Tool,
- made her slimer with Liquifity Tool,
- added light to her face,
- added leaves to create impression of space,
- increased contrast with Gradient Map,
- blurred background with Alien Bokeh,
- added lens flare,
- added more contrast to the dress with Selective Color,
- added warmer tones with Selective Color,
- added vignette.
- Jarka