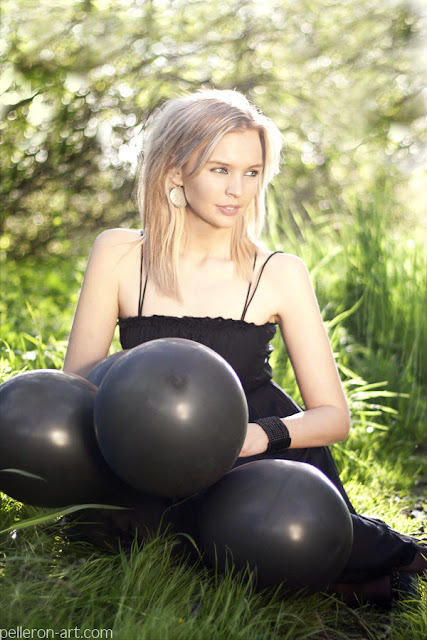
In the video you´ll see how you can work with Liguifity filter to give someone´s body nice shape and how you can combine different color adjustments to achieve great color result.
In the video you´ll see how:
- you can use Liquifity filter to give body nice shape,
- to use the Stamp Tool (S) to clean up background,
- to use Levels to fix highlights and shadows in model´s face,
- to combine different color adjustments to achieve desired result.
Video
There is the promissed video. I made it twice faster to not to bore you :)If you have any questions about post processing feel free to ask. I´ll be really happy to answer them!
Finished Photo
And there is the finished photo. It was taken with sun as back light and I bounced some light back to model´s face with reflector I´ve recently bought.I´ll definitelly write more about this photoshoot soon so stay tuned :)
If you want to see more photos from this photoshoot check out my Facebook or tumblr!
I would be really happy if you follow me there too and if you send me links on your tumblrs or FB fan pages so I can be more in contact with you!
Conclusion
As always I really hope that the article was useful for you and am looking forward to see your comments :)Have a lovely day. Do you have such a nice, sunny day as here?


