Resources
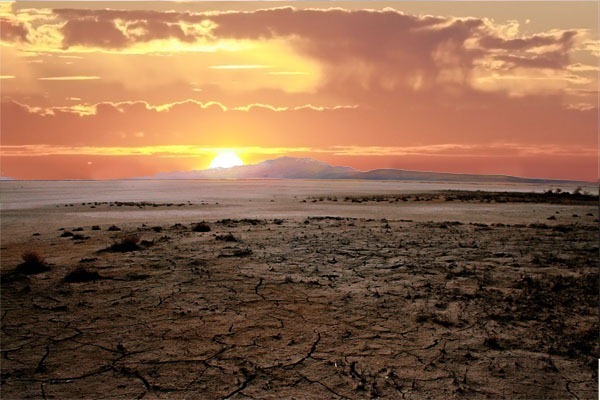
- Light Bulb, Holder and Sunset- Pelleron-Art
- Desert- night-fate stock
- Crack - nighty-stock
- Fractal - PinkMonkeyLove
- Flowers and leaves - in the following text
Step 1 - Preparing the Document
Create a new document in Photoshop. To do that go to File > New... or press Ctrl + N. Set the value Width on 600 pixels and Height on 400 pixels. Press OK.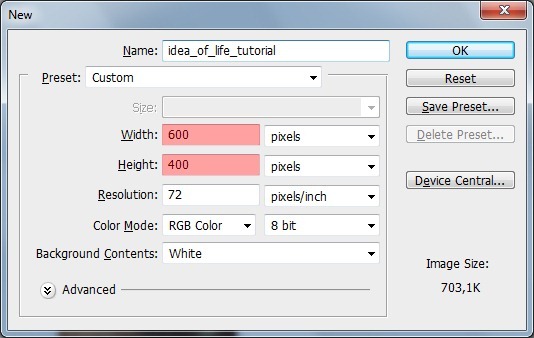
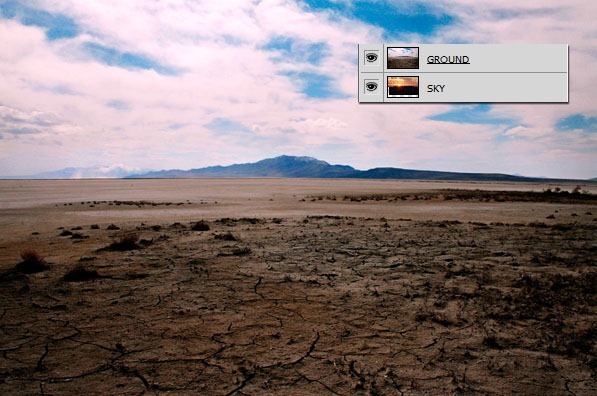
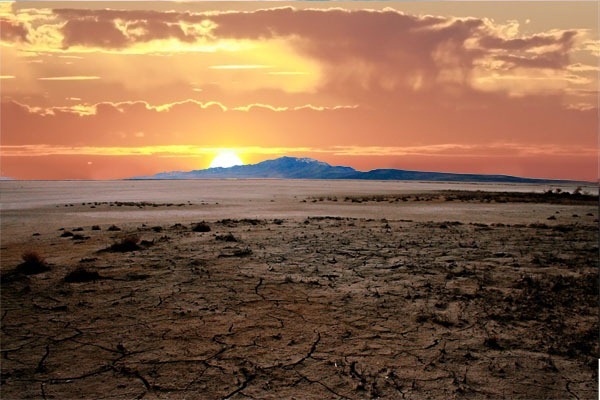
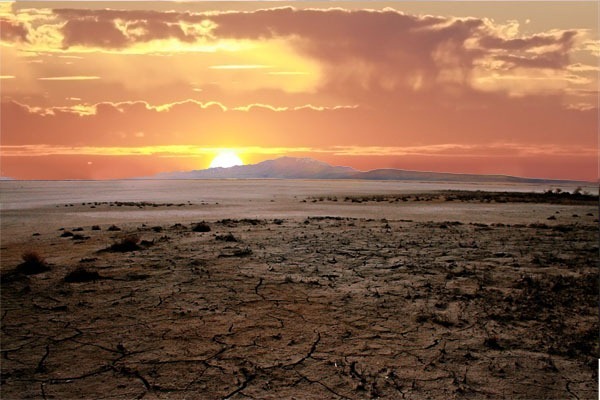
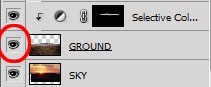
Download the picture of the sunset and the picture of the ground and place it into the new document. Name the layer with sunset SKY and the layer with ground GROUND. Place layer GROUND above the SKY. Click on the layer GROUND and press Ctrl + T. Then resize the image on proper size. Do the same with SKY. Below you can see how your image should look like so far.
Step 2 - Cutting Out the Sky From the Ground
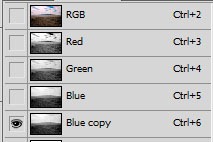
In this step you´re going to cut out the sky from the ground picture. You can do it very easily thanks to Channels. To do that click on the palette Channels. If you don´t see it go to Window > Chanels. On the palette you can see RGB, Red, Green and Blue channel. Right click on the Blue channel and duplicate it.TIP: If you cut out something with Channels, always duplicate the channel where is the biggest contrast between the object you want to cut out and the rest of the image.
Let make only the Blue copy channel visible and the rest invisible.
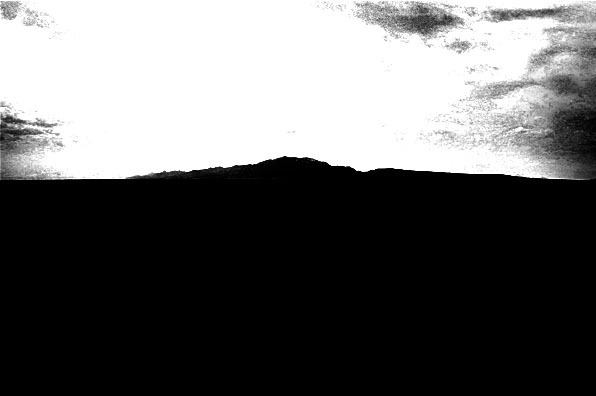
Go to Image > Adjustments > Levels... (or press Ctrl + T on your keyboard) and set the Input Levels as on the picture below.

The channel should look like on the following picture. You did this thing with Levels because you want to have solid black and white color - it indicates where the selection will be. White color will be selected, black stays unselected. Grey tones between will be selected with different opacities. E. g. 50% mid grey color will have selection with 50% opacity.
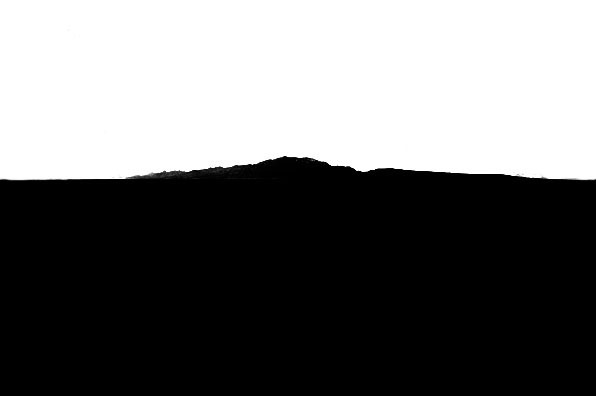
Grab the Brush Tool (B), select some hard round brush and pick white color. Paint over the grey parts of the sky. Be careful along the horizontal line. You do this because you want to have selected the whole sky - you want to cut out all the clouds not only some parts. Below you can see how the image should look like.
Click back on the RGB channel to be able to see the image in colors again. Click on the GROUND on your palette Layers and go to Select > Load Selection... and in the box Channel choose the option Blue copy. Press OK.
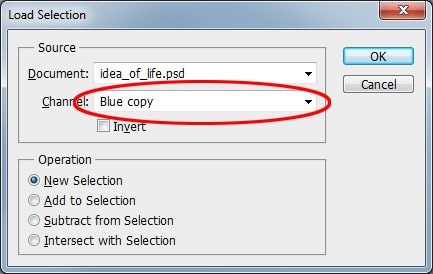
This step activates the selection based on the "Blue copy" channel. Everything which was white will be selected, black stays unselected. Now simply press Delete on your keyboard to delete the sky from the picture with ground. After this step you should have picture similar to the one below.
Step 3 - Adjusting the Mountain
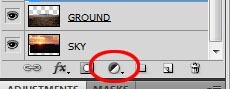
If you take a look on the picture above you can probably see that the mountains on the horizon should be less blue and more orange because of the sun nearby. You´ll fix it in this step.Add new adjustment layer Selective Color on the top of your layers (To do that click on the button "Create a new fill or adjustment layer" which can be found on the bottom part of the palette Layers. If you don´t see this palette go to Window > Palette or simply press F7 on your keyboard.)
I write it in all tutorials but I feel I need to mention it here too - try to use adjustment layers instead of direct adjustments as often as possible. This way you can change it during the whole process of doing manipulation not as long as History remembers your steps. In other words - thanks to adjustment layers adjustment is always reversible and changeable.
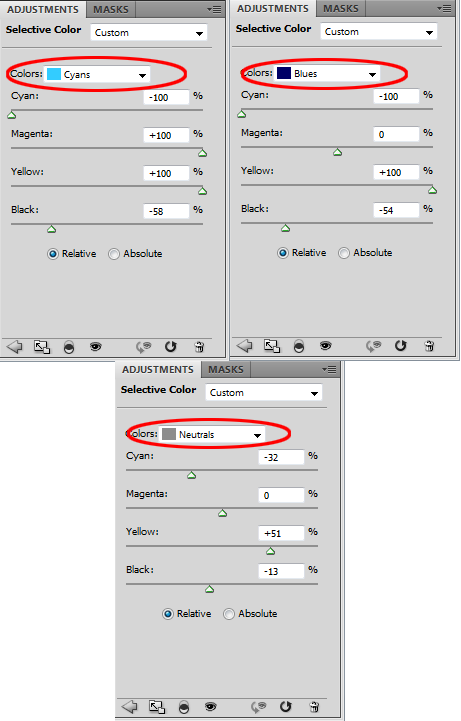
Set the adjustment layer Selective Color in the same way as you can see on the following picture.
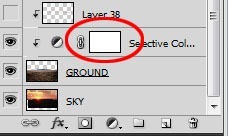
Right click on this adjustment layer and select the option Create Clipping Mask. This way the adjustment affects only one layer bellow which means the GROUND. Click on the thumbnail of this layer (see picture below), grab the Gradient Tool (G), pick black color and fill the thumbnail with it.
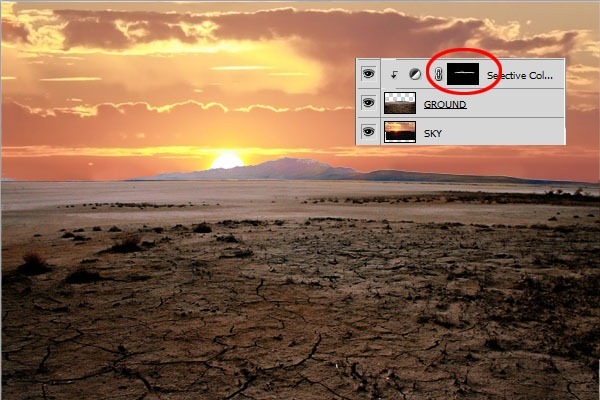
Grab the Brush Tool (B), pick white color and paint over the mountain. This way the adjustment affects only the mountains and not the whole GROUND. Your image should look like the one below so far.
As you can see on previous picture the adjustment makes mountain bit more orange/rose but not over all parts and because of that they look badly stained. To fix that create a new layer on the top of your layers. Create clipping mask from it and name it e. g. MORE ORANGE.
Grab the Brush Tool (B), select some soft round brush, set Master Diameter on about 20 pixels and Opacity on 30%. pick some color similar to colors of the sky and gently paint over the parts of mountain which stay too blue. Once you´re finished your image should look like the one bellow.
Step 4 - Reflection of Sun
If you look at some sunset photos you may notice that the sun creates "aura" on the objects behind which it shines. You will create the aura in this step.TIP: You can take a look at two examples of this aura - photography "Sunset" by satomy79 on deviantart and painting "Cretaceous Sunset" by kerembeyit.
Make GROUND invisible for a while (click on the small eye icon).
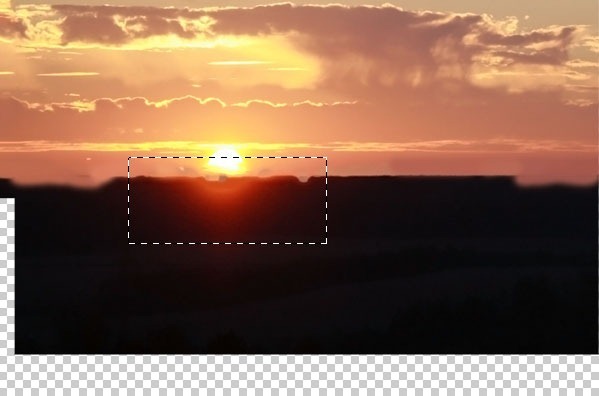
Grab the Marquee Tool (M) and select the bottom part of the sun with the aura.
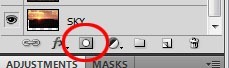
Copy the selection (Ctrl + C) and paste it on the top of the layers (Ctrl + V). Name the layer SUN AURA and change the Blending Mode on Color Dodge. Lower the Opacity on 80%. Make the GROUND visible again. Add vector mask to the layer SUN AURA. You can find the button Add vector mask on the bottom part of the palette Layers.
Grab the Brush Tool (B), select some soft round brush, lower the opacity on about 50% and pick black color. Paint around the edges of the aura to blend it properly. On the following picture you can see how your image should look like.