
Resources
- Main Background and Woman
- Sky
- Mountains
- City
- Rain brushes
- Lighting
- Bird
- Branches
- Hair Brushes
- Bird Brushes
Step 1 - Preparation of Background
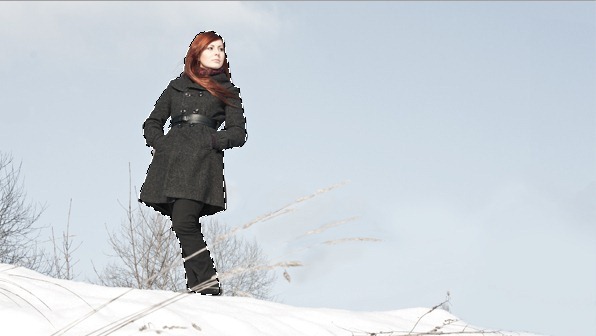
Download the picture with girl and main ground and open it in Photoshop. The photo was taken with slightly different intention, that's why there is some orange clothing. You'll get rid off that in this step.Create a new layer above the background. You can find the button "Create a new layer" in the bottom part of the palette Layers. If you don't see this palette simply press F7 on your keyboard or go to Window > Layers and it will appear.
Name the new layer e.g. REMOVE CLOTHING. It's good to name your layers because you can orient better than if you don't do it.
Grab the Brush Tool (B). Press Alt on your keyboard to activate the Eyedropper Tool and pick some light color from the sky. Now start painting over the clothing to make it disappear and let sky appear instead.
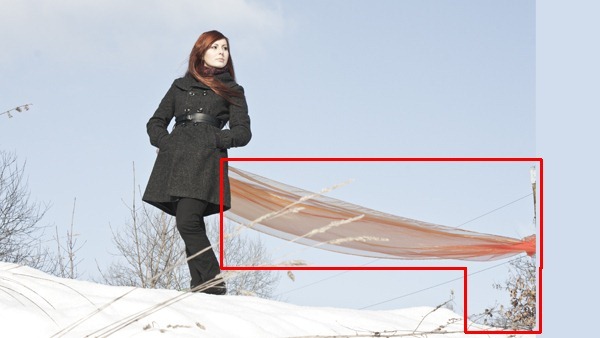
You can get the inspiration of where to paint on in the picture above. As I said paint over the clothing but don't paint over the straws! They create nice impression of space so you want to let them in the picture.
Then paint over the bush in the right bottom corner. It doesn't look photogenic and you'll add some better in following steps.
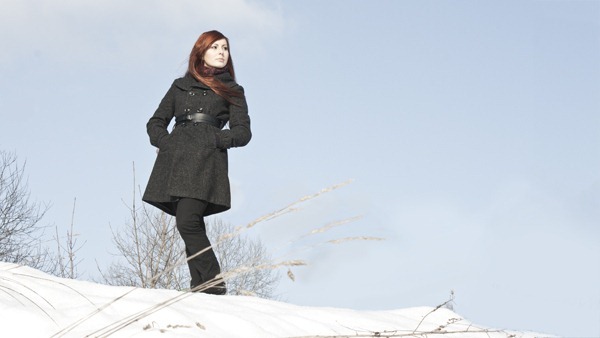
After this step your image should look like the following.
Step 2 - Creating Selection of Woman
As you can see the sky and whole background is very uninteresting right now - it's just some light blue color and nothing more. To improve it you'll add mountains to the background and sky in following steps.Before you'll start it's necessary to make selection of the girl and save it. To do that grab the Lasso Tool (L) and select the girl.
Be as careful as possible while making the selection. If you don't do it carefully your manips will never look realistic. It can be boring and time consuming but it's totally worth it.
If you're not sure how to use the Lasso Tool (L) or want to know about other methods of blending you can take a look at the article "A Photomanipulator's Guide to Blending" here on Photoshop Tutorials.
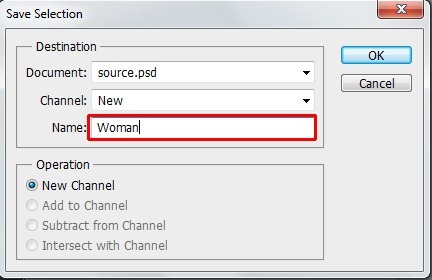
As I said you need to save the selection to be able to use it later. To do that go to Select > Save Selection ... and as Name write e.g. Woman. Press OK.
Press Ctrl + D on your keyboard to deselect it. You'll came back to the selection soon.
Step 3 - Adding Mountains
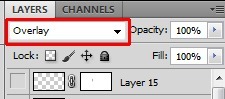
Download the picture of mountains and drag it to the picture. Press Ctrl + T on your keyboard and resize the picture on proper size. Then press Enter to apply the resizing. Rename the layer on MOUNTAINS and place it on the top of all layers.To blend the layer with the rest of the picture change its Blending Mode on Overlay. You can find the Blending Mode option in the upper part of the palette Layers.
Your manipulation should look like the following picture. As you can see the mountains are well blended with the sky but they're also on the woman which looks really weird.
Now it comes time to use the selection you've created and saved in previous step.
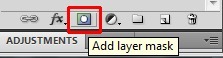
Add new layer mask to MOUNTAINS. You can find the button "Add layer mask" in the bottom part of palette Layers (same as the buton "Create a new layer").
Go to Selection > Load Selection ... and select Channel Woman. Press OK.

Grab the Brush Tool (B) and pick black color. Make sure that the layer mask is active (just click on it) and paint with black inside the selection. It causes that the mounatin on woman dissapear.
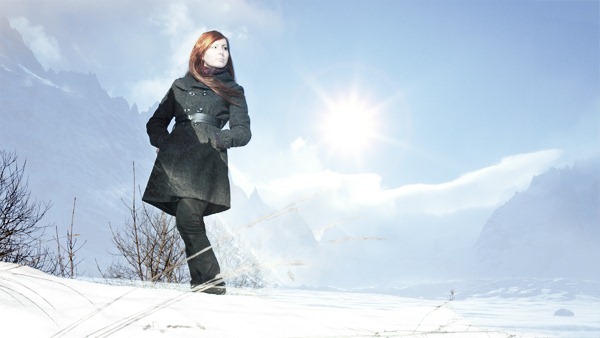
You should get something like on the picture below.

Have an amazing Monday!
- Jarka