

Preview of Final Result

Step 1 - Naming the Layer
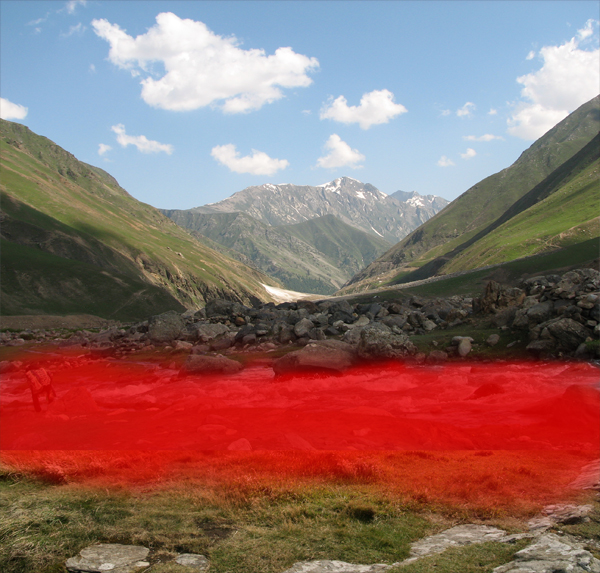
Download the picture of the meadow and open it in Photoshop. For the purposes of this tutorial resize the picture. Go to Image > Image Size and set the value Width on 600 pixels.

Name the layer MEADOW. You can do it on the palette Layers. It´s very important palette because it shows you from which layers your photo manipulation consists. If you don´t see this palette go to Window > Layers or press F7 on your keyboard. Palette like the one on the following picture appears.

As you can see there is only one layer so far named BACKGROUND. To rename it you need to make the layer editable. Right now it´s locked and because of that you can´t rename it, resize it, move with it etc.
You can unlock the BACKGROUND very easily - right click on the layer and select the option Layer From Background...

Now you can rename the layer. To do that double click on the text Background and type MEADOW.
Right now it may seem unnecessary to name your layer but it´s good to build this habit since the very beggining because once you start doing more complicated photo manipulations it will be hard to orient in all the layers (e. g. I usually work with 50+ layers) if they´re not named.
Step 2 - Dragging the Picture of Mountain
You need to place the mountain into the document with meadow. You can do it very easily. Open the picture of the mountain in Photoshop and then simply drag it into the second document.
Name the layer with mountain MOUNTAIN by double clicking on the text Layer 1. Your layers should look like on the picture below.

Step 3 - Resize the Mountain
The picture of mountain is much bigger than the rest of the image. It needs to be resized. To do that go to Image > Free Transform or press Ctrl + T on your keyboard.
Small squares arround the edges appear. Move with one of them to make the image smaller. While doing it hold Shift on your keyboard - it resizes the picture proportionally.

Step 4 - Canvas size
As you can surely see the canvas size is too small. The canvas should be higher because right now you can´t see the whole mountain. To do that go to Image > Canvas Size and set it as on the following picture.
Click on the circled narrow. It causes that the canvas becomes bigger only in the upper part.

Step 5 - Moving the Mountain
The canvas is already big enough so you can move with the mountain. To do that grab the Move Tool (V). You can activate it by pressing V on your keyboard or by clicking on its icon.


Step 6 - Adding Layer Mask
There is a lot of tutorials on the internet which recommend blending with the Eraser Tool (E). I strongly recommend you to don´t use the Eraser Tool for blending. It erases parts of the image and it´s really hard, often impossible to get them back when you realize that you made some mistake during blending and need to reverse your actions.
I´d like to show you the alternative with the same effect but with the ability to let appear "erased" part of the image any time you want. To do that you will use the Brush Tool and the layer mask.
To add layer mask click on the button Add layer mask in the bottom part of the Layers palette.


Step 7 - Blending
Make sure that the layer mask is active - simply click on the thumbnail. Grab the Brush Tool (B) - press B on your keyboard or click on the icon of the tool.


Step 8 - Correct the Mistakes
Zoom in on 100% and carefuly look if you blend everything well. If you hide something which should be visible pick white color instead of black and paint over.
Conclusion
As you may see this type of blending is very easy and not so much time consuming. It´s ideal when the only thing you need to do to blend pictures properly is to create smooth transition between them.
Despite the fact that it´s really easy method be very precise with theblending. Usually more time you spend on blending more realistic result you get.
It´s very good to zoom in to see if all the details are well blended.
Advantage of this type of blending is that everything is reversable in any time. If you want to hide something you just add layer mask and paint with black over it. If you want to make it visible you´ll paint with white instead of black.