

Step 1 - Creating The Background
Let´s take a look at what we will create:Download picture of background and picture of sky. Create a new Photoshop document and drag these images into the document. Place layer with the sky above the ground and name it SKY. Name the layer with the ground simply GROUND.
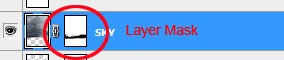
Add layer mask to the SKY. The button Add layer mask can be found on the bottom part of your palette Layers. If you don´t see this palette simply press F7.

Using a vector mask instead of the Eraser Tool (which is so popular among Photoshop users) is better because you can very simple reverse all steps you did. You just choose white for the color and paint over the areas which you want to see again. With the Eraser Tool there is no way to recover.
Make sure that the layer mask is active (just click on it) and press B (= Brush Tool). Select some soft round brush, pick black color and start painting over the areas of SKY you want to disappear. If you want more precise details select smaller brush and lower opacity.
Now add Adjustment Layer (button Create new adjustment or fill layer can be seen next to the button Add layer mask) Gradient Map on the top of your layers. Using of adjustment layer is really useful because all adjustment you do this way are non destructive and you always can go back and change them. It´s almost impossible to do that if you adjust your pictures with using of Image > Adjustment > ... Thanks to adjustment layers you can also adjust only parts of the image.
Set Gradient Map as it´s shown bellow:
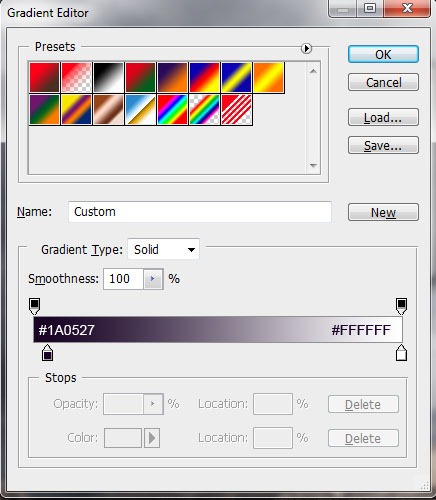
Change the Blending Mode of this layer on Hard Light and set Opacity on 50%. This adjustment icrease the contrast of picture and also add violet tone.